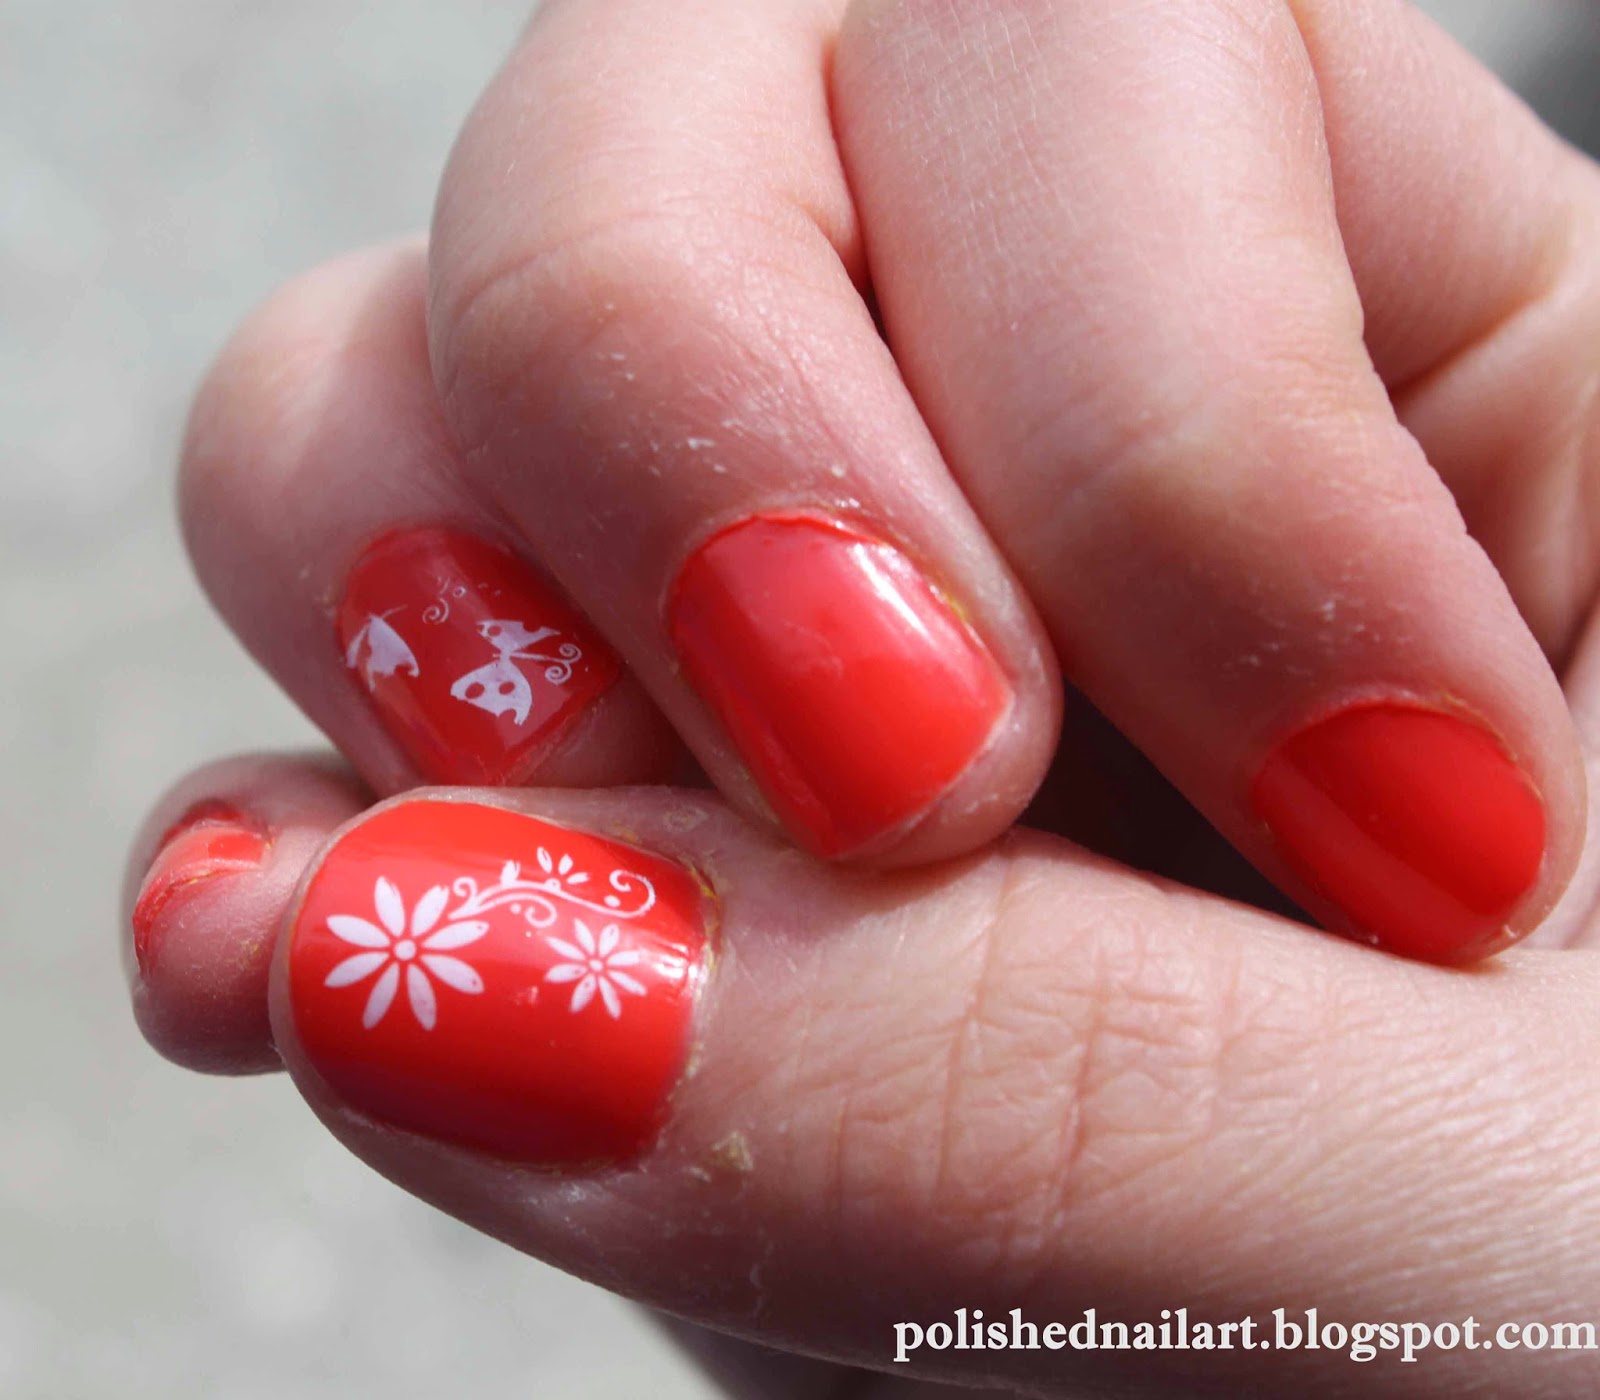
Here is a finished look at a manicure I did using my Konad stamping kit. I chose a butterfly and flower design for my thumbs and ring fingers.
After a base coat, I applied Wet n Wild Wild Shine polish in Blazed. In the above photo, I had to apply two coats so that the polish wouldn't be so opaque.
Here are the basic supplies you would need to do a stamping manicure. All of my items as mentioned are from Konad. From left to right, top to bottom: paint scraper, stamper, and two design plates. The plates I used are m53 (butterfly) and m25 (flower).
First, you will need to apply a covering of paint to whichever design you choose. The special Konad paints are best for this because many other polishes are too opaque to stamp; the Konad ones are more pigmented than others.
Next, you will use your scraper to remove all of the excess polish. You should just be left with you design covered in paint, just like the picture above.
Take your stamper to pick up the design. Tip: try to stamp up the design as quickly as possible since the thin layer of polish dries fairly quickly; don't worry though, your timing will improve with practice.
After picking up the design, your stamper should look something like this. If you see other spots or streaks of color that are not part of your design, clean the stamper and plates with polish remover and try again.
Now simply stamp the design onto your nail. The best method I have found is to start at the edge of your nail, and firmly roll the stamp over the center of the nail.
And these are my finished nails! I did apply top coat, however, with stamped designs, it is best to quickly and gently apply a thin top coat. Going over and over the design too many times will actually create streaks on it.
Happy stamping!
xoxo Trendy Tips xoxo